Seal the knots before any color goes on. On old pine furniture, that single step decides whether the paint stays the shade you chose, and it is the one most often skipped. Knotty pine and newer softwoods sit near the top of the list of woods that push tannins and resin up through paint, leaving amber shadows in the shape of each knot, sometimes a day after painting and sometimes months later.
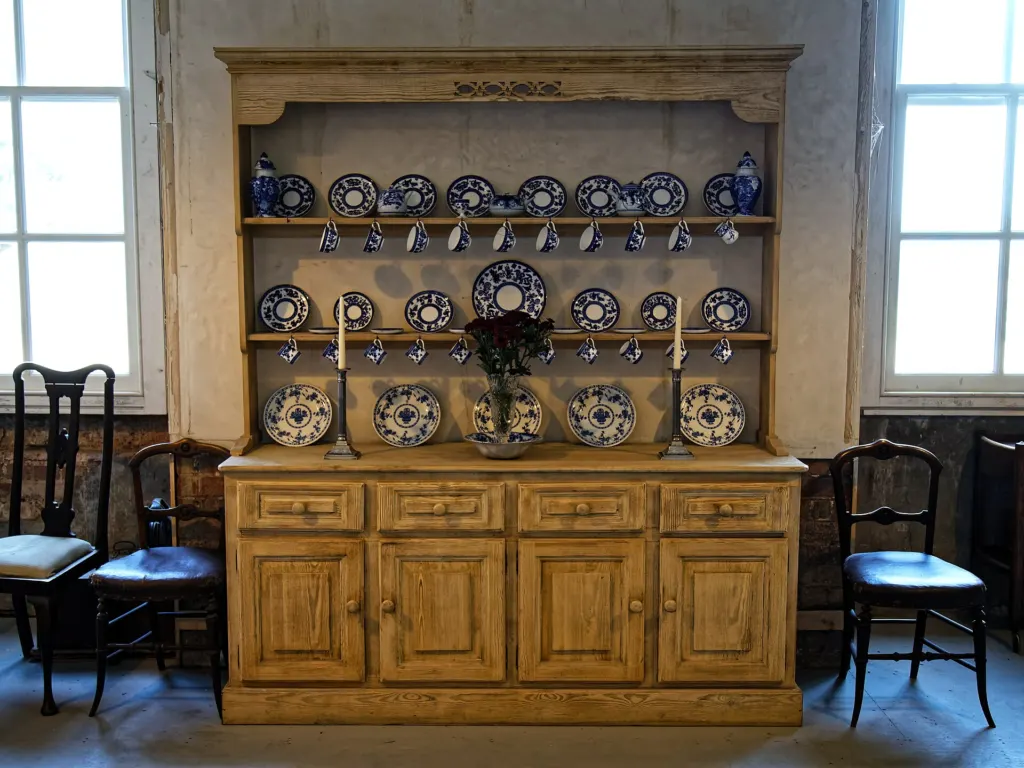
The makeover getting attention this week shows the payoff. Kate of the furniture studio Heir and Space took in a solid pine hutch that had been abandoned at a roadside in Portland, its dark brown finish scratched and dented from crown to base. She filled the worst damage, sanded the worktop to bare wood and gave it a honey-tone stain under several coats of sealer, so its knots and grain show on purpose. The rest of the frame went blue in three shades, finishing with two coats of a custom-mixed duck egg, then she distressed the raised details so earlier layers peek through and sealed it all with dark wax. The backboard turned a pale buttermilk, cup pulls and round knobs replaced the old hardware, and after one lower door cracked she took off both outer doors and fitted woven baskets.
Why pine knots bleed
Knots are darker and denser than the wood around them, so they take paint differently, and many still hold sap. A pale color such as duck egg blue goes on as a thin skin over that dark patch, and as the coating ages and wears, the discoloration surfaces. Cherry and mahogany do the same, but knotty pine is the usual culprit on secondhand pieces.
Step by step for an old pine piece
- Clean and sand. Scuff the whole surface, knots included. Without sanding, primer and paint grip poorly, and a coat that peels lets knots show sooner.
- Fill only what you want gone. Deep gouges get filler; Kate left some marks in place to keep the worn farmhouse look.
- Prime with a stain blocker. Shellac-based primer is the standard pick because shellac locks the resin in. The white version doubles as a base under light colors, and you can tint it toward your paint so missed spots stand out. Clear spray shellac dries smooth without sanding, but since it is clear you cannot see whether a knot is fully covered.
- Knock down rough primer. White shellac primer from a spray can dries gritty, so give it a light sand before color.
- Paint thin, then seal. Wax can go over chalk or milk paint after roughly 30 minutes of drying.
Shellac and oil-based primers carry a strong odor, so open windows or work outdoors. For a low-odor route, water-based blockers such as Dixie Belle Boss or brushable Zinsser 123 will seal knots, but they need several coats with 4 to 8 hours between each. Do the math before you start: three water-based coats means 12 to 24 hours of drying before the first brush of blue, against about 30 minutes for a single coat of the oil-based Zinsser 123 spray.
The common mistake: trusting no-prep paint on pine
General guidance on chalk and milk paint says neither needs sanding or primer unless a surface is uneven or slick. On most wood that is fair. On knotty pine the problem is not grip; the paint can stick perfectly and the stain still comes through. Furniture paint makers name knotty pine among the woods most prone to bleed-through and put a shellac stain blocker in the prep stage for exactly that reason.
Chalk paint or milk paint for pine?
Milk paint is the older recipe, going back to colonial America: limestone, clay, pigment and casein, a milk protein. It usually comes as a powder you mix with water, costs less, goes on thinner, and cracks and flakes on its own, which suits farmhouse cabinets and antique dressers. Add a bonding agent for an even, non-chipping coat, or leave it out to let it self-distress. Chalk paint, created in the 1990s by Annie Sloan from calcium carbonate, talc and pigment, arrives premixed in quart cans, grips without a bonding agent and gives a steadier matte finish that you distress by hand with sandpaper.
For a layered look like this hutch, milk paint chips where it wants and chalk paint wears only where you sand. Neither changes the first job. Plan for the primer stage, not the blue, to be the longest wait: up to a full day with water-based blockers.
Image: Acabashi, CC BY-SA 4.0 via Wikimedia Commons
This article was produced with AI assistance and reviewed by our Editorial Desk. How we work.